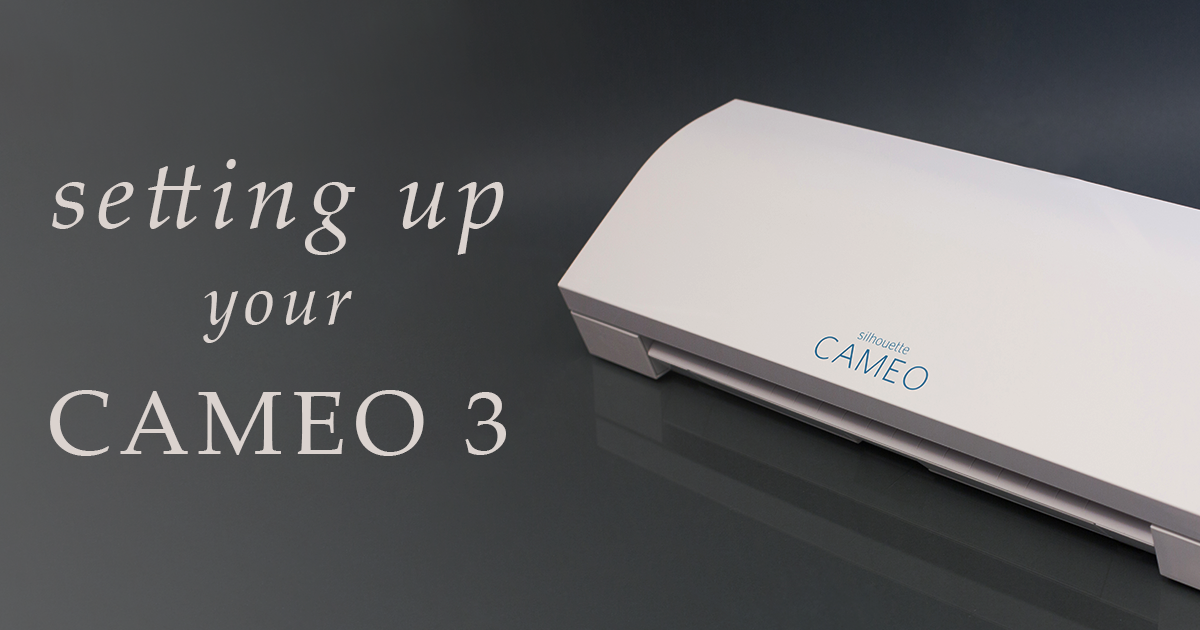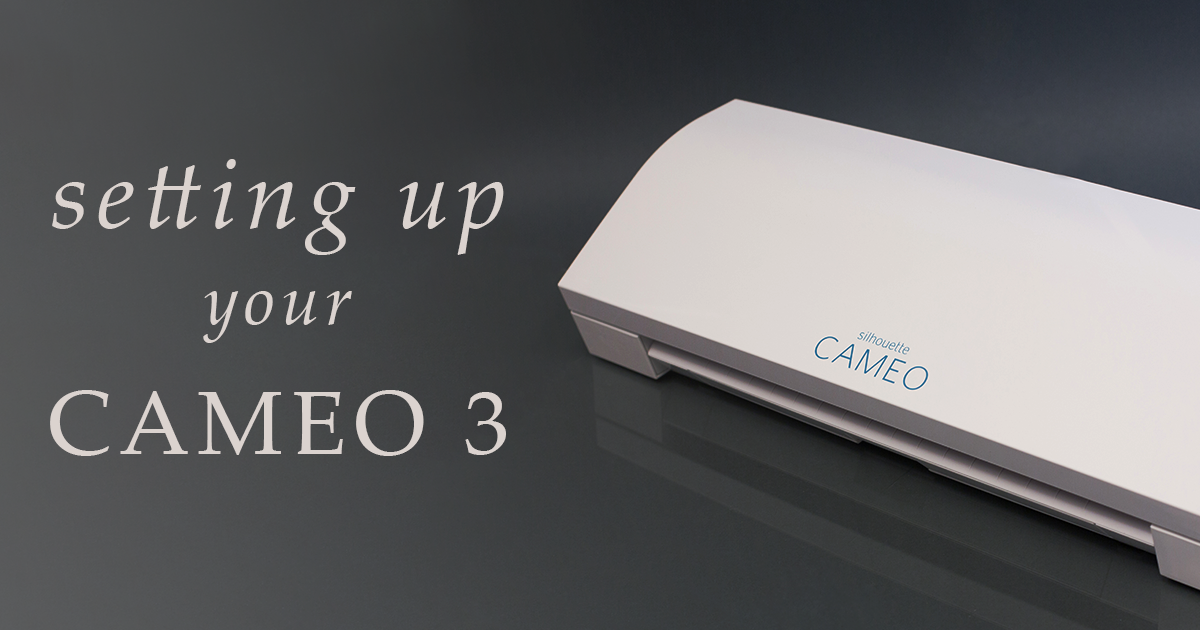
We know how it feels – to get your brand-new in the mail, ripping open the packing materials, just to be hit with a sense of dread. You want to start crafting as soon as possible, but where do you even start? Follow this quick step-by-step setup guide and you’ll be using your Cameo 3 in no time!
Step 1: Take Your Silhouette Cameo 3 Out of the Box

Take your machine out of the box. If you’re like us, you’ll think this part is awesome. There’s nothing quite like unwrapping your brand-new, never touched Cameo 3 and imagining all the possibilities!
Step 2: Register Silhouette Cameo 3

Register your machine at https://www.silhouetteamerica.com:443/setup. To complete the registration process, you’ll need to use the unique serial number found on the back of your machine.
Step 3: Check That Your Silhouette Cameo 3 Included All the Provided Tools
Confirm the contents of your box. In addition to the Cameo 3 cutting machine, you should have a power cord and AC adapter, USB cord, cutting mat, an AutoBlade, a crosscutter, and a small multi-use tool.
Step 4: Check Your Silhouette Cameo 3 Inside-and-Out
Discard tape and any additional packing materials, such as foam, from your Cameo 3 machine. Make sure to check the outside as well as the inside – you’ll need to open the top of your machine to find the tape and foam pieces near the blade carriage.
Step 5: Turn On Your Silhouette Cameo 3
Plug your AC adapter into the right side of your Cameo, then plug the adapter into the wall. Press the power button on your machine and let the magic begin! The screen on your Cameo 3 will walk you through the initial setup, including choosing your language.
Step 6: Download and Install Silhouette Design Studio
Voila! Your machine is now set up. The next thing you’ll need to do is download and install the Silhouette Design Studio software. We wrote a blog to help you with this (not so) daunting task.
Step 7: Perform a Test Cut with Your Silhouette Cameo 3

Now it’s time to get serious. To actually cut materials, you’ll need a blade! Open the top of your Cameo 3, then pull the lock lever on the blade carriage towards you. Insert the AutoBlade and, while pressing it down, press the lock lever back towards the machine.
Step 8: Connect Your Silhouette Cameo 3 with a USB
Now, just connect your Cameo 3 to your computer with the USB cable and you're ready to go!
Congratulations! You're Ready to Use Your Silhouette Came 3.
You’re now ready to create your first project! To start off, you may want to try this simple Butterfly Card Tutorial. These step-by-step instructions will help teach you Silhouette Design Studio, how to load your mat, and how to assemble the perfect project!
Once you complete a project using the cutting tool, share it with us on Facebook, Pinterest, Instagram or Twitter…and don’t forget to tag us @craftercuts or use hashtag #craftercuts in your caption.
Now that you’ve got the “crafting bug,” purchase additional cutting material (vinyl, etc.) or machine accessories from Craftercuts! If you have any questions about what to buy next, contact our customer support at cs@craftercuts.com or call our store at 904-551-1733.


