Blog sidebar

Category

Recent Posts

Creating Personalized Designs with the Silhouette Cameo 4 and Sawgrass SG500: A Step-by-Step Guide
  • By Crafter Cuts
  • Jun 27, 2023

The Silhouette Cameo 4 is a popular cutting machine used for various crafting and DIY projects, while the Sawgrass SG500 is a sublimation printer commonly...

Silhouette Studio Options!
  • By Crafter Cuts
  • May 03, 2023

If you're a crafter or designer, chances are you've heard of Silhouette Studio. It's a powerful software that allows you to create custom designs for...

Getting to know the Roland BN-20A
  • By Crafter Cuts
  • May 01, 2023

If you're looking for a powerful and versatile printing solution for your business, you might want to consider the Roland BN-20A. This compact and affordable...

DIY Teacher Gift: Chalkboard Sign
In News

DIY Teacher Gift: Chalkboard Sign

DIY Teacher Gift: Chalkboard Sign

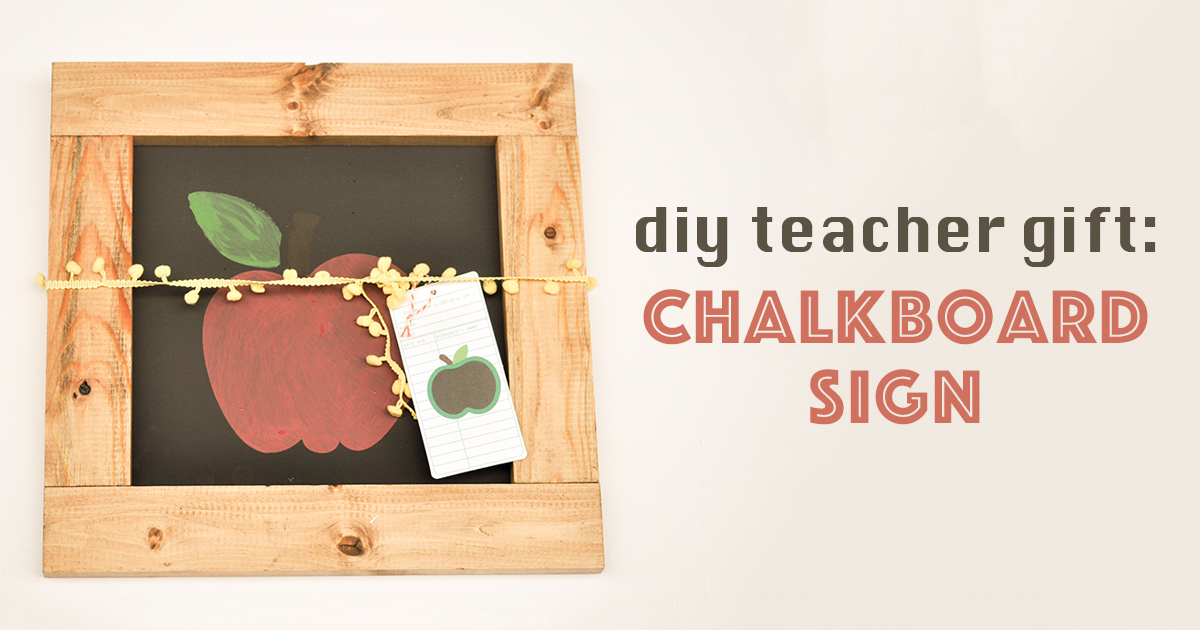
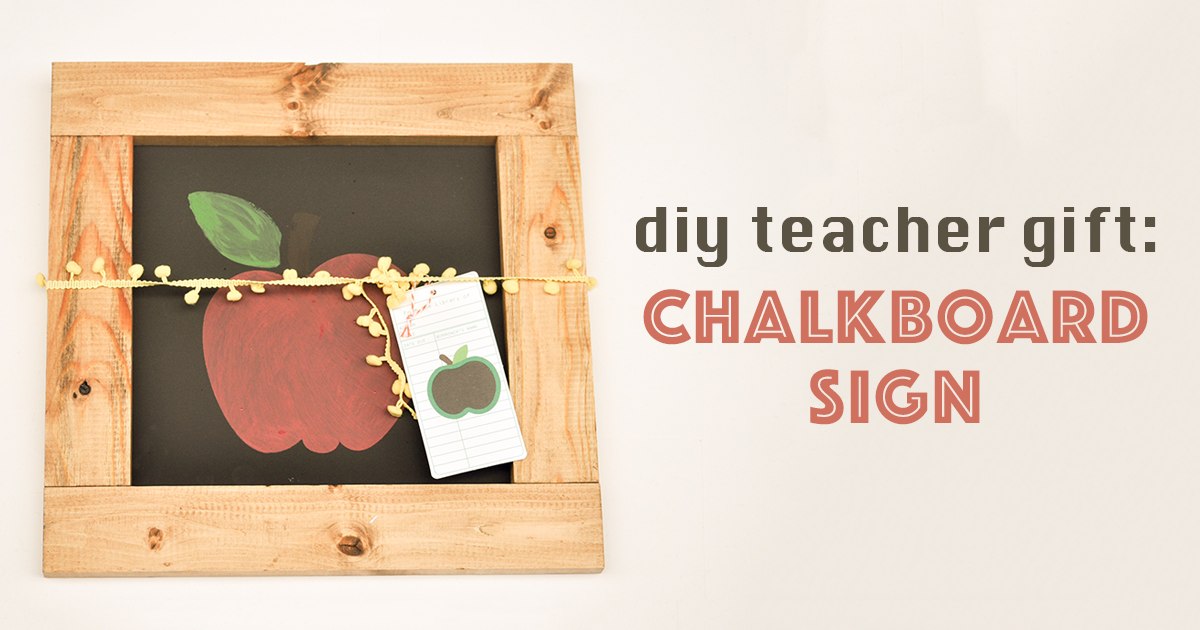
The school year’s about to start! Start it off right with a gift for your child’s teacher. This simple DIY chalkboard sign is the perfect addition to any teacher’s décor.


SUPPLIES NEEDED:


PROJECT STEPS

Chalkboard Project Step 1

1. Open your design file in Silhouette Studio. (If you prefer a different design than the apple in #44442, go for it! Find the perfect design that fits your tastes).

2. Adjust your design, keeping at least a one-inch perimeter on all four sides.

Chalkboard Project Step 3

3. Trim vinyl or stencil material to 12”x12”, place on your cutting mat, and cut the design with your Silhouette Cameo.

4. Using your weeding tool, remove the pieces that will be painted (the leaf, stem, and apple).

Chalkboard Project Step 5

5. Remove the backing off the Silhouette Transfer Tape and apply it, sticky side down, to the apple stencil.

6. Remove the paper backing from the vinyl and apply on the chalkboard. After making sure there are no bubbles or creases, remove the transfer tape.

Chalkboard Project Step 7

7. Choose your paint colors and lightly dab onto the chalkboard. 

Tip: Work from the center outwards to avoid paint bleeding.

Chalkboard Project Step 8

8. Remove the stencil before the paint dries.

Chalkboard Project Step 9

9. Finally, add your frame!


(This blog post was originally posted on the Silhouette America blog.)


What’s your favorite DIY teacher gift you’ve made for a teacher? Tell us in the comments below!


SIMILAR BLOGS TO EXPLORE:


Beginner Project,cameo 3,Craftercuts,cut mat,design store,Silhouette America,Silhouette Beginner Project,Silhouette Beginners,Silhouette Inc.,Silhouette Project Tutorial,Silhouette Projects,Silhouette Studio,Silhouette Studio Tutorial,Silhouette Transfer Tape,Tutorial

Comments have to be approved before showing up

YOU MAY ALSO LIKE

Category

Recent Posts

Creating Personalized Designs with the Silhouette Cameo 4 and Sawgrass SG500: A Step-by-Step Guide
  • By Crafter Cuts
  • Jun 27, 2023

The Silhouette Cameo 4 is a popular cutting machine used for various crafting and DIY projects, while the Sawgrass SG500 is a sublimation printer commonly...

Silhouette Studio Options!
  • By Crafter Cuts
  • May 03, 2023

If you're a crafter or designer, chances are you've heard of Silhouette Studio. It's a powerful software that allows you to create custom designs for...

Getting to know the Roland BN-20A
  • By Crafter Cuts
  • May 01, 2023

If you're looking for a powerful and versatile printing solution for your business, you might want to consider the Roland BN-20A. This compact and affordable...