Looking for the perfect July 4th outfit for you or your kids? Check out this project shared from Silhouette America's Blog.
(All content below has been shared without altering original content.)
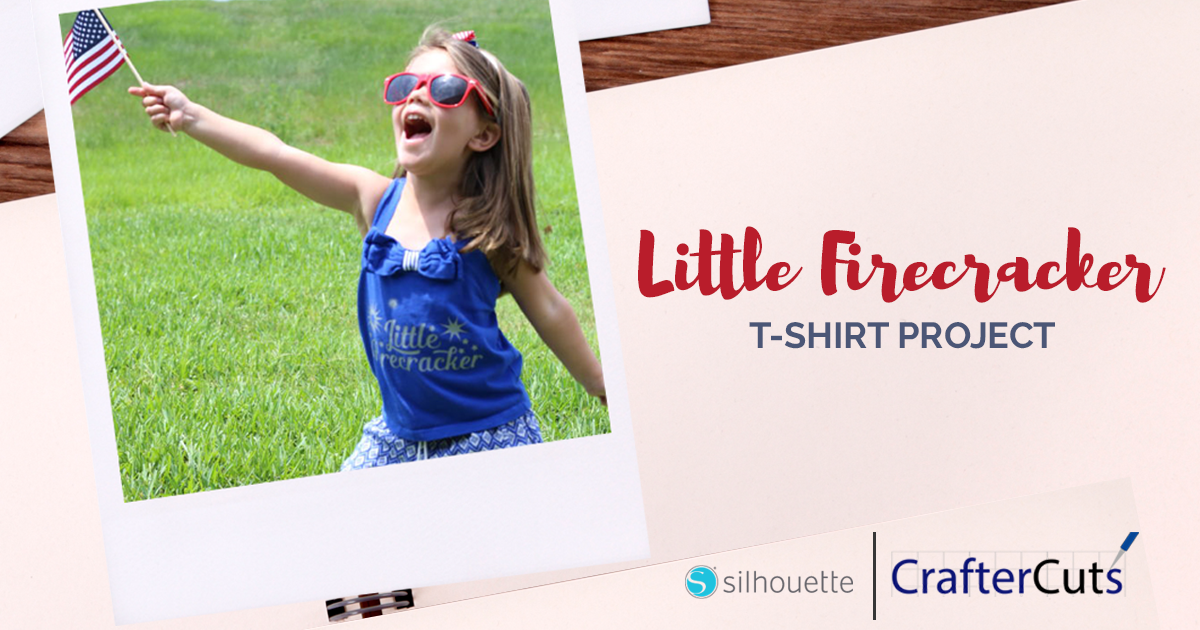
The season of summer parties and social gatherings is upon us, and I wanted to make sure my littles are dressed in style. So we decided on this Little Firecracker design from the Silhouette Design Store!
When I saw this design, I instantly knew I needed to make it for my daughter! Instead of a traditional T-Shirt iron on, I opted for an adorable tank top with a bow detail! I just love how easy it is to custom make clothes for any occasion, and this is perfect for the summer and the 4th of July!
If you are new to heat transfer, Silhouette makes it SO simple with the use of their tools! Whether you are going to a backyard BBQ or a 4th of July celebration, do yourself a favor and make your little one this shirt! It’ll be a crowd-pleaser!
Supplies Needed:
- Silhouette CAMEO®, Silhouette Portrait®, or Silhouette Curio™
- Silhouette Cutting Mat
- Silhouette Cutting Blade
- Silhouette Studio®
- Silhouette Smooth Heat Transfer – gray
- Silhouette Hook Tool
- Iron
- Shirt (we used a blue tank top)
- Silhouette Design ID #201599
Step One: Locate Your Design
- Locate Design ID #201599 in your library and double-click to open the design in Silhouette Studio®.
- Adjust the size of the design by selecting it entirely and dragging the outer corner to make it larger or smaller. According to the size of your shirt, you’ll want to adjust your shape to complement its size.
- Now that your design is ready to go you are all set to cut your design.
Step Two: Cut and Assemble
- Whenever you are cutting heat transfer, you want to make sure that you cut it correctly. Remember to mirror your image before you cut it! Thankfully I have the latest version of Silhouette Studio®, and it asks me BEFORE it cuts if I want to mirror the image. This is PRICELESS.
- Load your heat transfer into your machine or place it on a cutting mat. Then in the Send window of Silhouette Studio®, make sure to select the correct material (smooth heat transfer in this case). It will then tell you what to adjust your blade to. If you’ve got an AutoBlade, then you don’t need to adjust your blade.
- Once your design is loaded, send it to cut.
- After your design is cut, weed the excess material away to leave only the phrase.
- Iron on your design with a cloth pressed between the design and the iron. Use a low-heat setting or a shirt press. I find that if you wait about 60 seconds for the design to cool, prior to peeling the plastic sheet off, you will have an easy time removing it from the shirt with ease. If the design has not adhered fully, just repeat the ironing process until it is completely ironed on.
Who’s ready to party like it’s 1776? You will be if your little firecracker is wearing this adorable design! I think it would match perfectly with any red, white, and blue attire! You can even mix and match the vinyl colors, but in this instance, I wanted to keep it a single color. Enjoy this shirt inspiration and get crafting with Silhouette, friends!


