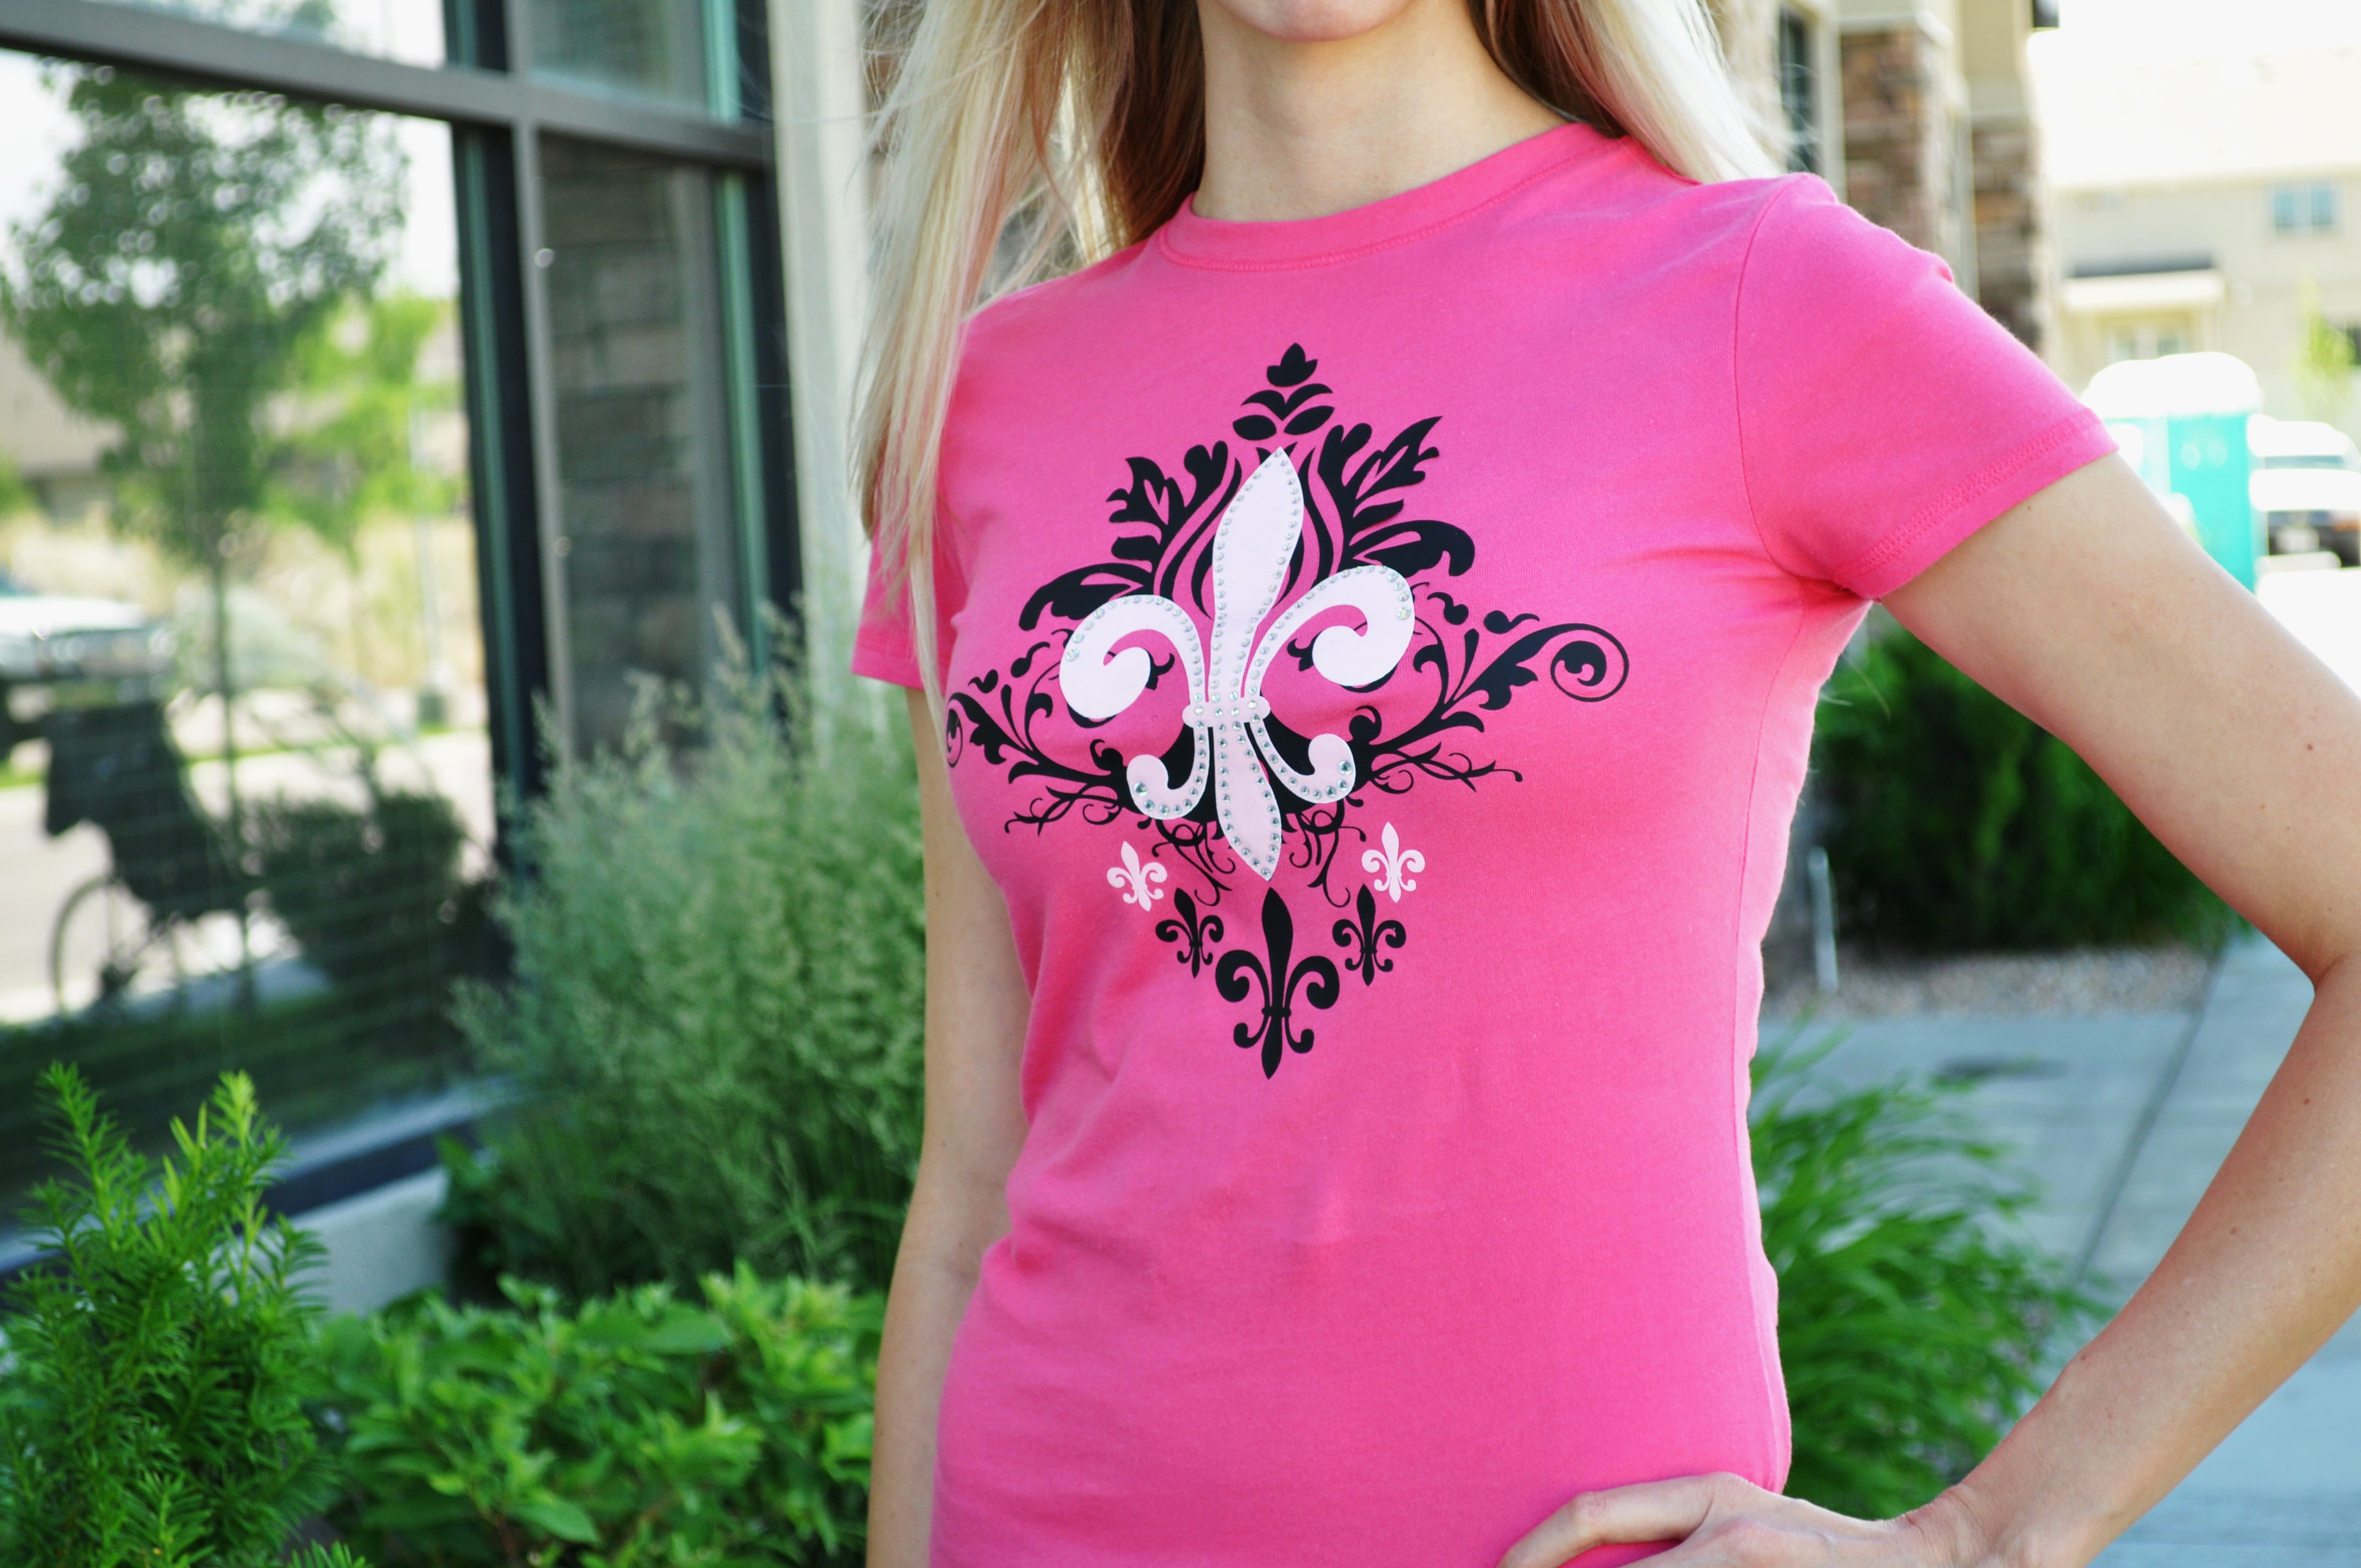
Heat transfer vinyl (HTV) is a versatile material that can be used to create custom designs on fabrics. It is a popular choice for creating custom apparel, such as t-shirts, hats, and bags. Here are the basic steps for working with heat transfer vinyl:
- Choose your design: Start by creating or selecting a design that you want to transfer onto your fabric. You can create your design using software, such as Adobe Illustrator or Silhouette Studio, or purchase pre-made designs online.
- Cut the vinyl: Once you have your design, cut the HTV using a vinyl cutter, such as a Silhouette Cameo or Cricut. Make sure to mirror your design before cutting, so that it will be the correct orientation when applied to the fabric.
- Weed the excess vinyl: After cutting, weed the excess vinyl from your design using a weeding tool. Be sure to remove all the small details and negative space from the design.
- Preheat the fabric: Preheat the fabric where you will be applying the vinyl to remove any wrinkles or moisture. This will help the vinyl adhere better.
- Position the vinyl: Position the vinyl on the fabric, with the shiny side facing up. Use a heat-resistant tape to hold the vinyl in place.
- Apply heat and pressure: Apply heat and pressure to the vinyl using a heat press or an iron. The temperature and time required will depend on the type of HTV and fabric you are using, so refer to the manufacturer's instructions. Typically, the heat press or iron should be set to around 320-350°F (160-180°C) and applied for 10-15 seconds.
- Peel the carrier sheet: After applying heat and pressure, remove the carrier sheet while it is still warm. Start at one corner and peel it off slowly, making sure the vinyl has adhered to the fabric.
- Finish the product: After applying the vinyl, let it cool down for a few minutes before wearing or using the product. You can also add additional layers of vinyl or other embellishments to create a more complex design.
With these basic steps, you can easily create custom designs using heat transfer vinyl. Just be sure to follow the manufacturer's instructions for the specific HTV and fabric you are using, as they may vary slightly.


